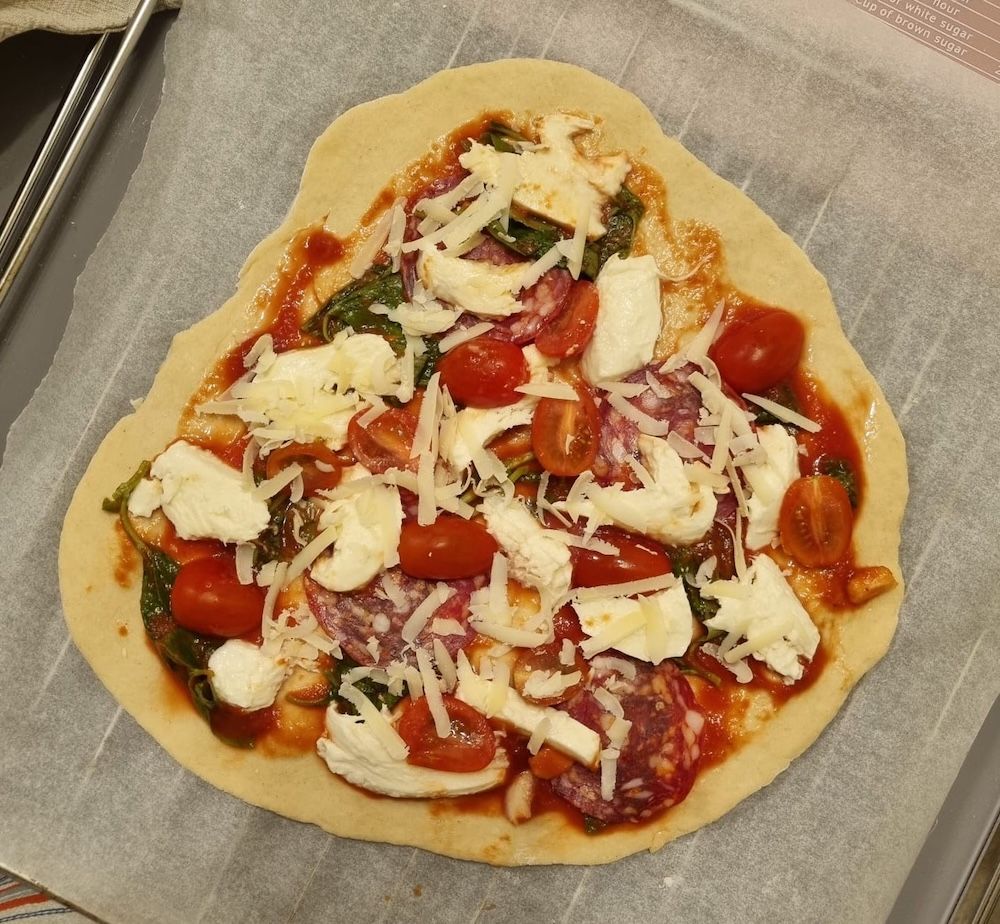
My favourite takeaway of choice has always been pizza. In hearing that making pizza can be quite easy and possibly even more delicious than takeaway, I decided to give it a go. I followed BBC Good Food's Pizza recipe and added pepperoni as well. To my surprise, it was quite fun to make and was a success. I'll definitely be making more pizza in the future!
To reasons unbeknownst to us, Dan and I gravitate towards being around graveyards. In the past, my secondary school in Hong Kong, our first-year and second-year university accomodation were all situated next to a graveyard. In fact, the flat we are living in right now is also walking distance away from a graveyard, and so is where I work.
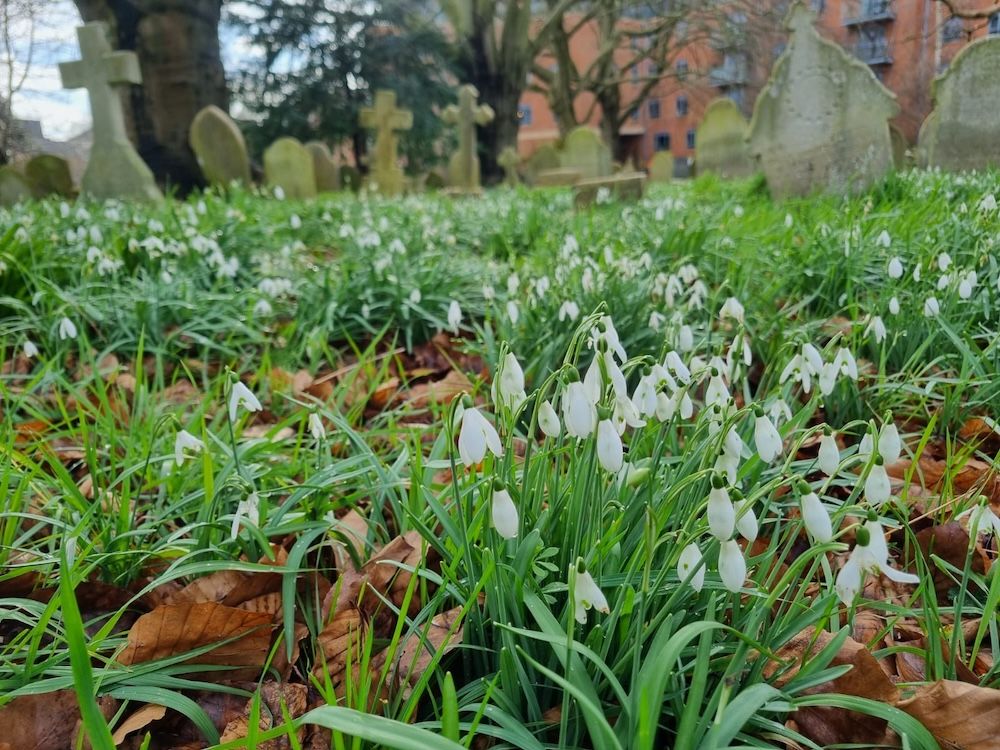
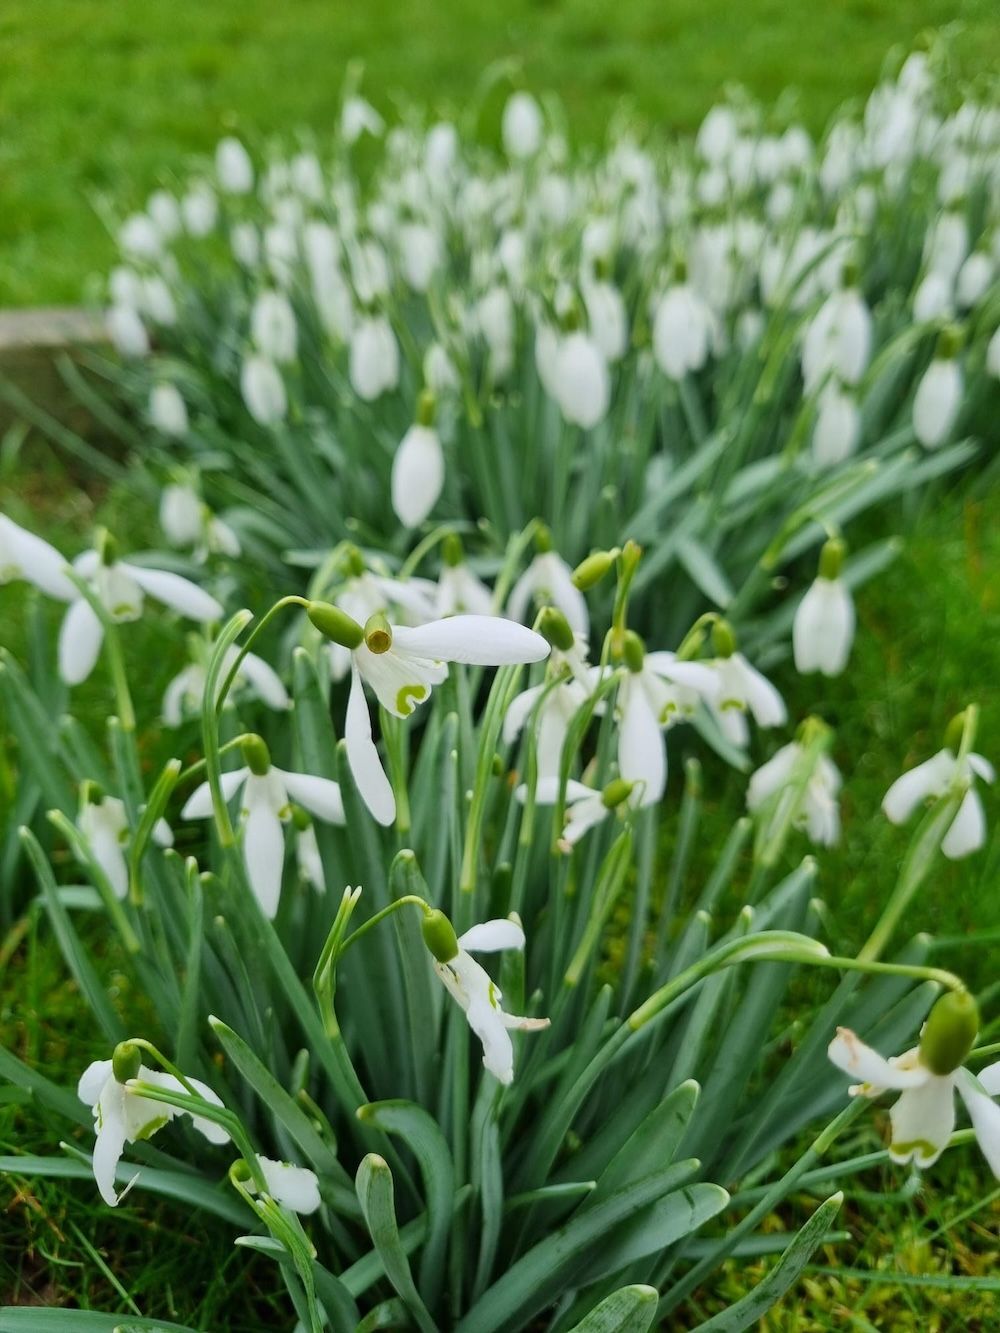
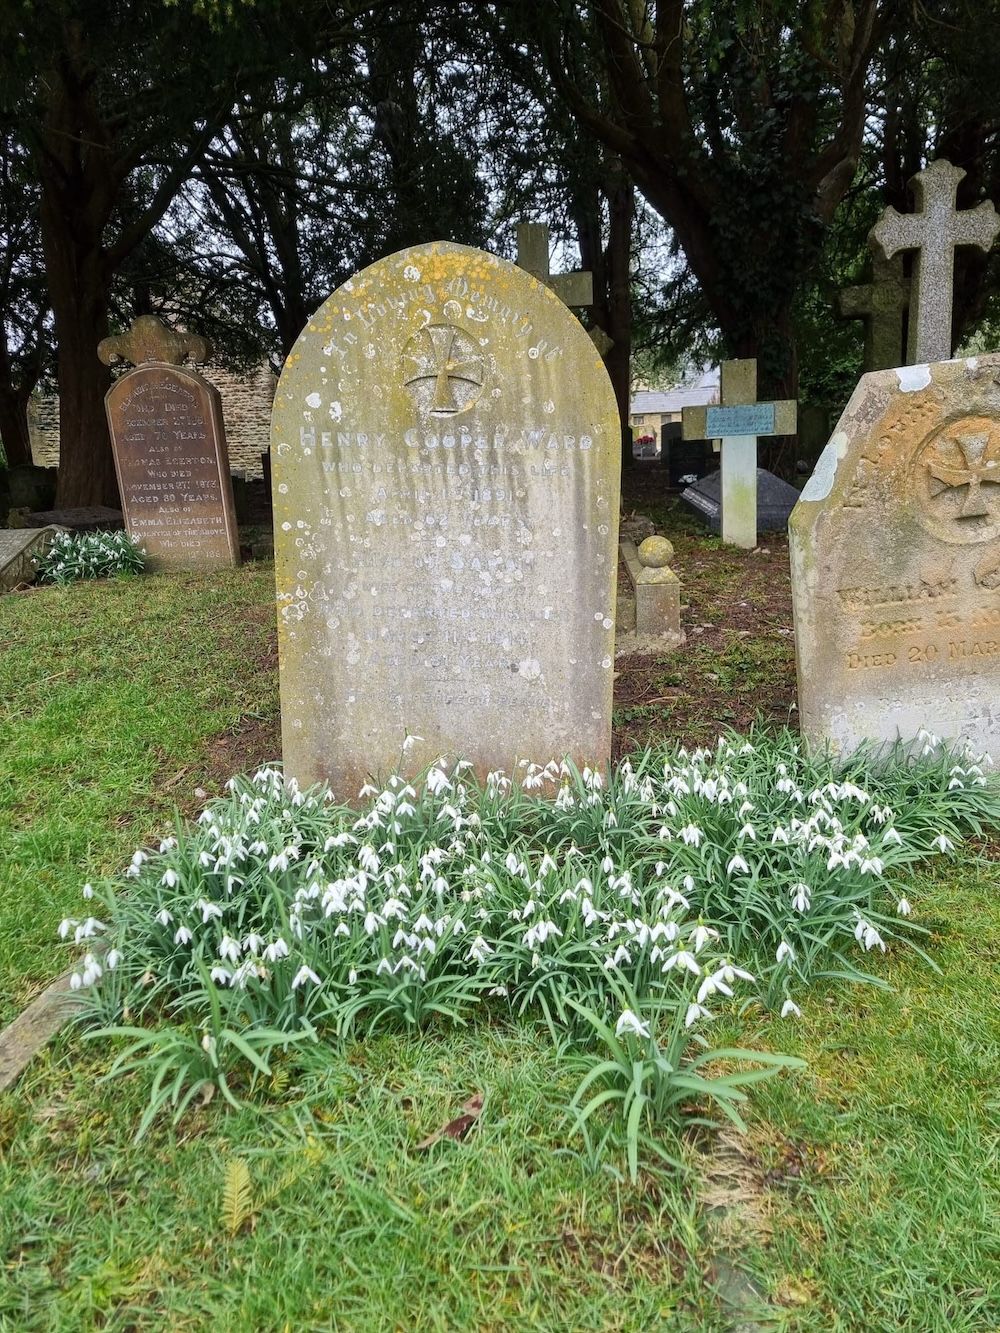
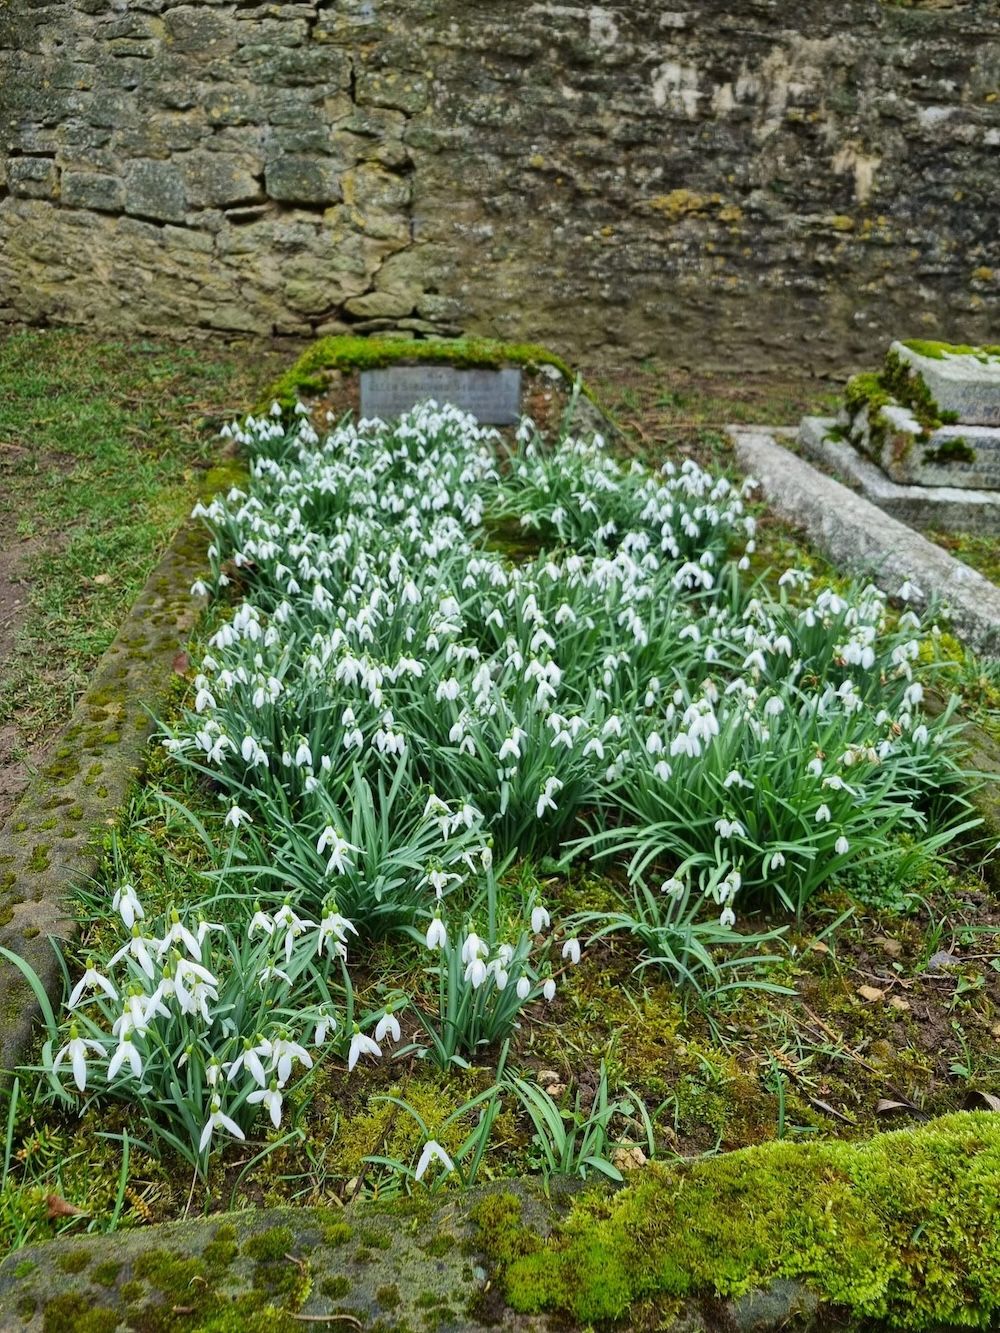
One thing that I have found magical about graveyards in the UK are the beautiful wild flowers that seemingly come out of nowhere. It makes me wonder whether dead bodies underground is related to the pretty flowers growing overground. Though I can't find the photos, one time we found loads of crocus flowers in a graveyard. It was beautiful.
Anyway, here are snapshot of snowdrops growing in the cemetary near where we live and where I work. Hope you like and appreciate them as much as we do!
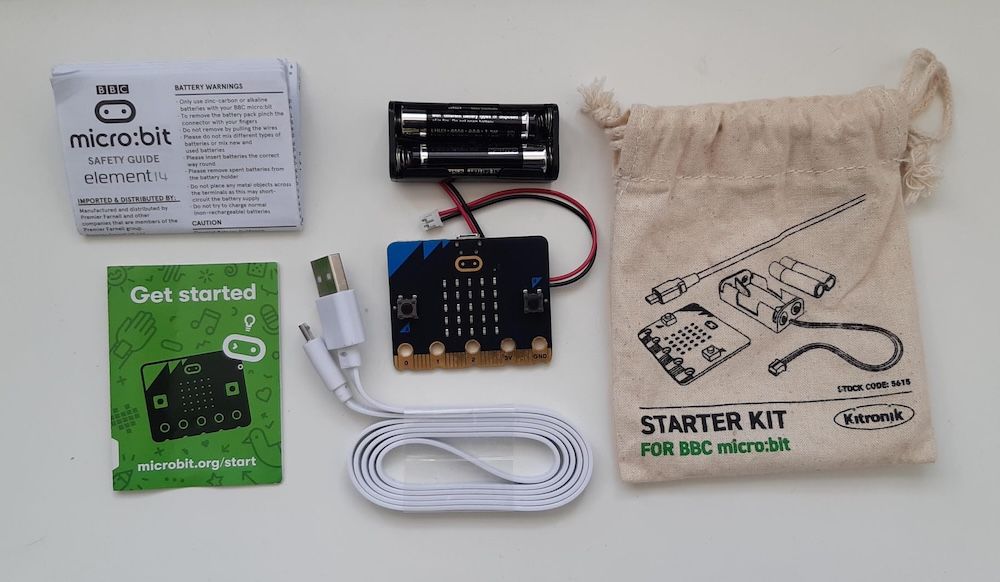
Recently, I have become fascinated with the BBC micro:bit. It has been described as a "pocket-sized computer" and is much like a beginner-friendly Raspberry Pi or Arduino. micro:bit is designed by the BBC to educate people on how computers work and to inspire children to engage in digital creation.
The Micro:bit Educational Foundation is a not-for-profit organisation that aims to inspire every child to create their best digital future.
Given my recent interest in this electronic, I was pleasantly surprised to find that my sister-in-law's boyfriend had a micro:bit ✨, which he ordered during COVID lockdown, for me to borrow and play around with 🕹️. With that, I thought I would try and make a little game 👾.
What did I use?
The micro:bit can be programmed using (1) Microsoft's MakeCode editor, which allows programming using colourful blocks like in Scratch, or (2) their own Python editor, which is also known as MicroPython.
Since I am already familiar with text-based programming and Python, I opted for MicroPython. The editor is user-friendly, accompanied by easily accessible documentation and drag-and-drop code snippets. I especially like how there is a simulator of the Micro:bit on the side which quickens the development process.
What game did I make?
I decided to create a game that makes use of the accelerometers in the m,micro:bit. The goal of the game is to keep the "ball" on the board and prevent it from falling off. As the player tilts the board, the ball rolls across the board. To add difficulty, the ball speeds up as you level-up.
The Result
Creating and playing the game was incredibly enjoyable!
Overall, I'm quite impressed with what you can do with micro:bit! I would recommend it to people who want to learn how to code and create something fun!
My source code
Below is a copy of the source code.
## Imports go at the topfrom microbit import*import time
DIRECTION ='direction'
MAGNITUDE ='magnitude'
DOWN ='DOWN'
RIGHT ='RIGHT'
LEFT ='LEFT'
UP ='UP'
GRAVITY_MODE ={
DOWN:{DIRECTION:'y', MAGNITUDE:1},
RIGHT:{DIRECTION:'x', MAGNITUDE:1},
UP:{DIRECTION:'y', MAGNITUDE:-1},
LEFT:{DIRECTION:'x', MAGNITUDE:-1},}
ANTICLOCKWISE_GRAVITY_CHANGE ={
DOWN : RIGHT,
RIGHT : UP,
UP : LEFT,
LEFT : DOWN
}
CLOCKWISE_GRAVITY_CHANGE ={
DOWN : LEFT,
RIGHT : DOWN,
UP : RIGHT,
LEFT : UP
}
LEVELS_TO_MS ={1:1000,## millisecs per frame for each level2:500,3:250,4:200,5:150}
MAX_LEVEL =5## States
WON ='WON'
PLAY ='PLAY'
IDLE ='IDLE'
FILLED_VALUE =9;
MAX_VALID_VALUE =4
MIN_VALID_VALUE =0
TILT_THRESHOLD =500
COUNT_PER_LEVEL =15defisPointValid(pt):
x = pt['x']
y = pt['y']return(
x <= MAX_VALID_VALUE and x >= MIN_VALID_VALUE and
y <= MAX_VALID_VALUE and y >= MIN_VALID_VALUE
)defloopDisplay(a):for i in a:
display.show(i)
time.sleep(1)defcountDown(level):
loopDisplay([Image.HAPPY,"LEVEL "+str(level)])## Intitalise
point ={'x':2,'y':0}## coordinate of the ball
gravity_key ='DOWN'
counter =0## to see how much "time" has passed for leveling up!
level =1## initial level
state = PLAY
countDown(level)whileTrue:if isPointValid(point)and state == PLAY:
display.clear()
display.set_pixel(point['x'],point['y'],FILLED_VALUE)
time.sleep_ms(LEVELS_TO_MS[level])if counter == COUNT_PER_LEVEL:if level < MAX_LEVEL:
level = level +1
point ={'x':2,'y':0}
gravity_key ='DOWN'
counter =0
countDown(level)else:
state = WON
## Tilt to control ball
x_strength = accelerometer.get_x()
y_strength = accelerometer.get_y()ifabs(x_strength)>=abs(y_strength):if x_strength >= TILT_THRESHOLD:
gravity_key = RIGHT
if x_strength <=-TILT_THRESHOLD:
gravity_key = LEFT
else:if y_strength >= TILT_THRESHOLD:
gravity_key = DOWN
if y_strength <=-TILT_THRESHOLD:
gravity_key = UP
## Press buttons to control ballif button_b.was_pressed():
gravity_key = ANTICLOCKWISE_GRAVITY_CHANGE[gravity_key]if button_a.was_pressed():
gravity_key = CLOCKWISE_GRAVITY_CHANGE[gravity_key]## Update gravity
gravity = GRAVITY_MODE[gravity_key]
point[gravity[DIRECTION]]= point[gravity[DIRECTION]]+ gravity[MAGNITUDE]## Increment counter
counter = counter +1else:## When the player has lost
loopDisplay([Image.SAD])
state == IDLE
## When the player has wonif state == WON:
loopDisplay([Image.HAPPY,'YOU WON!'])
state = IDLE
## Waiting for the player to be ready to restart gameif state == IDLE or button_b.was_pressed()or button_a.was_pressed():
point ={'x':2,'y':0}
gravity_key ='DOWN'
counter =0
level =1
state = PLAY